Thursday, August 15, 2013

August 15, 2013

I finished this block after two days working on it. It was quite complicated so it took longer than I expected BUT I loved it. This block is stunning. I love the stitches in it. This block also combines several maneuvers used elsewhere to form the highly textured Aran surface. Treble Crochet Front Post Stitches form a Picket Fence Stitch. Pairs of trebles, angled to the right and left then decreased into one, form diamonds in the Dots and Diamonds Stitch. The dots are formed by the versatile three-chain Picot Stitch.

Block 13
Trebles and Aran Stitches
 This was the first time using the Treble Stitch where you yarn over twice before inserting the hook into the stitch. Two yarn overs gives enough yarn to be able to work through two loops three times.

The wine color yarn displays several stitches in this photo. The lower row is Single Crochet Stitches with Picot Stitches inserted every three stitches. The upper row is Treble Stitches.

The bone and wine, then bone color yarns in this section displays the Picket Fence Stitches.

This section is my favorite. It displays the Dots and Diamonds Stitches. It is three dimensional had looks very classy. I could really see an entire garment sectioned with this pattern.
The Dots and Diamonds pattern would make a great cozy afghan. Panels of Dots and Diamonds would be an effective insert in the body of a plain fabric. The Picket Fence Stitch suggests a border, cuff, or bottom band. The vertical appearance of this pattern would also be great combined with a horizontal pattern to break up the space in an interesting fashion. Post Stitches alternately worked into the front and back make a handsome ribbing for any traditional sweater.

Now on to Block 14......

Wednesday, August 14, 2013

August 14, 2013

Block 12 is finished and this project is 65% complete. I actually finished it yesterday evening but didn't post it until this morning.

Block 12
Filet Crochet
Filet Crochet is worked from a chart. In a nutshell, each square on the chart equals 3 stitches in width. This means that the 15-square chart in this pattern is really 45 stitches wide plus one more for the final edge stitch.

Filet Crochet offers a different kind of design opportunity than other crochet patterns. Designing patterns or pictures for use in Filet Crochet is as easy as shading in squares on a piece of grid paper. You can also adapt counted cross-stitch designs or knitting patterns.

Traditionally, Filet Crochet is worked in fine crochet thread in a light neutral such as white, off=white, beige, or ecru. Don't hesitate to try colored sport, DK, or worsted-weight yarns, however, if it appeals to you.

When using heavier yarns, Filet Crochet patterns with small repeats may work best. Since it takes three stitches  to achieve each filled-in square of your design, a large repeat would make a very large pattern. Curtains, tablecloths, and doilies can handle larger designs because they are usually done in fine-gauge threads.

I crocheted all day hoping to finish the next block, but it didn't happen. I am 2/3 of the way finished. The pattern is very complex and takes more time to complete. But wait until you see this block. It is stunning. Makes me want to crochet a garment with the pattern stitches.

Tuesday, August 13, 2013

Filet Crocheted Names for the Family

Another block completed. These last few blocks are more complicated and thus are requiring longer time to complete. But completed it is.

Block 11
Picots, Puffs, Popcorns, and Bobbles Stitches
 Gathering stitches together to form bumps of varying size gives interesting surface texture to your work. Although the stitches look complicated, they are quite easy and satisfying to work.

The bone color yarn displays Picot Stitches (lower row) and Puff Stitches (upper two rows showing various sizes).

The wine color yarn displays the Bobble Stitches of varying sizes.

The teal color yarn displays the Popcorn Stitches, again of varying sizes.
Picots were used in the first block that was crocheted - Single Crochet Block. Bobbles, Popcorns, and Puffs are other types of "bumps" made of multi stitches, but they usually have their base in the same stitch, space, or chain.

There are no specifics for the number of stitches that are used to make these interesting stitches. As with so much in crochet, personal preference can make each project unique.

Experiment with adding bumps and bobbles to any existing pattern that looks a little flat. The additional surface interest will change the entire look of the project.

Bobbles and Popcorns can easily be attached to the surface of purchased items or to a finished handmade crocheted or knitted garment. If the gauge is too tight to insert your crochet hook, simply embroider a line of stem stitches where you want your bumps and insert your hook into these stitches.

Experiment with other stitches and the number of legs to see what other variations are possible.

A group of bumps could become balloons with embroidered strings on a child's afghan or sweater.

On an adult project, a group of bumps could become a cluster of grapes or cherries with crocheted or embroidered leaves.

Okay, that's it for today. Now I will start the next block - Block 12 - Filet Crochet. I made several of these when I crocheted each family member's last name for a Christmas gift one year.

My birth family name, which is used by my parents and my two brothers. I crocheted two of these - one for each brother, James and Ron. My parents already had one crocheted for them by a friend, which is where I got the idea.

My married family name, which is used by Steve and I,  Steve's parents, and his one brother. I crocheted two of these - one for my in-laws (Chuck and Jeannine) and one for my brother-in-law (Robert & Shelley).

This is my best friend since sophomores in high school, Donna Probst. I crocheted this for her and her husband Paul.

Steve and I served with a ministry called Equipping The Saints for five years. The directors Keith and Jan Jones were wonderful friends. I crocheted this for them before we left their ministry to join Amazing Grace full-time on the road in our motor coach bus.

This is my sister Rita. I crocheted this for her and her husband Carroll.

This is my sister Sharon. I crocheted this for her and her husband Jerry.

I crocheted this for my sister-in-law Debbie and her husband Randy.
I also crocheted SCHULTZ for my "first set" of in-laws, Eddie and Norma Schultz.

See ya later...

Sunday, August 11, 2013

August 9, 2013

I went to The Spinster last Wednesday and started another Mystery Project - Amelia Earhart Aviator Cap. I don't like this style of hat but I had some stash yarn and the time, so I made it. I actually ran out of yarn and used some from another stash skein. So the hat is yellow with a dark blue section. But that's okay. I don't intend to wear the hat. I just gained more experience working with short rows and shaping a hat. That's always good.

Pattern Photo

My project. This shape hat never looks good on me. I need more floppy designs.
BTW - This hat counted as my 100th project posted on Ravelry. That's an accomplishment in itself, too.

Now on to another block...


August 11. 2013

Finally I finished Block 10. I kept redoing several rows because I couldn't get the count right. Finally, I figured it out and finishing went quickly.

Block 10
Fans and Vees

Bone color yarn displays the FanCee Vees Stitch

Wine color yarn displays the Solid Shells Stitch.

Multi and Teal color yarns display the Open Shells Stitch.
In this block only three of the almost infinite variety of stitch patterns that can be formed by using fans and fees. Both fans, often called shells, and vees are formed by working multiple stitches into the same base stitch.

The FanCee Vees in the block are formed by separating each shell with a Chain Stitch. The Solid Shells are made by working sets of five Double Crochet stitches into the same base stitch separated by a Single Crochet, which serves to spread the fan open. In the Open Shells pattern, the fans are given a more open look by working five Double Crochet stitches into a chain-three space.

This versatile stitch technique has been a favorite of crocheters for years. It is handsome as an allover pattern in both home decor and wearables and equally popular as an edging.  The height of the row repeat in fans, shells, and vees patterns may be controlled by the choice of stitch used.

I have completed 50% of the required blocks for the Learn-to-Crochet Afghan pattern. It is all downhill now.

Wednesday, August 7, 2013

August 7, 2013

I actually started but didn't finish the next block in the Learn-to-Crochet Afghan yesterday. I still need to finish a couple rows and the edging. But Steve left for another bus tour this morning and I needed to do a lot of tasks yesterday to get him ready to go and then this morning I was needed to drive him to the bus terminal. So he is off driving another tour for a group from France and won't return until the 28th of this month.

After returning home, I did crochet a couple more rows on the block before it was time to leave to join with the KnitWits group to drive to The Spinster. We all started the Mystery Project, which is a pattern called the Amelia Earhart Aviators Cap. I have about 1/3 of it done already - an easy knit with short rows that don't require the picking up of the wrapped stitch.

Amelia Earhart Aviator Cap


We stopped at Cracker Barrel for lunch. I order the Chicken Pot Pie because Steve's dad had commented on how good it was. Wrong! It was tasteless. I will not order it again. But now I have tried it and know better.

I met a new friend with the KnitWits group - Marcia. She lives fairly close to me and loves to sew, quilt and knit. She and her husband own their own business where they embroider, sew professionally, and own a long-arm quilting machine. I look forward to becoming good friends with her. She is also a member of the quilting guild, so I will also see her there.

I am going to finish the block I am currently working on and then call it a night.

Block 9
Basketweave
In this block, the front post, or Relief Stitch, a technique that can be applied for a variety of effects was used. In the two-color Basketweave Stitch, the blocks were alternated with Post Stitches, which give a vertical appearance, with rows of Single Crochet, which have a distinct horizontal look. The juxtaposition created by changing color and stitches produces the basket weave effect.

Monday, August 5, 2013

August 5, 2013

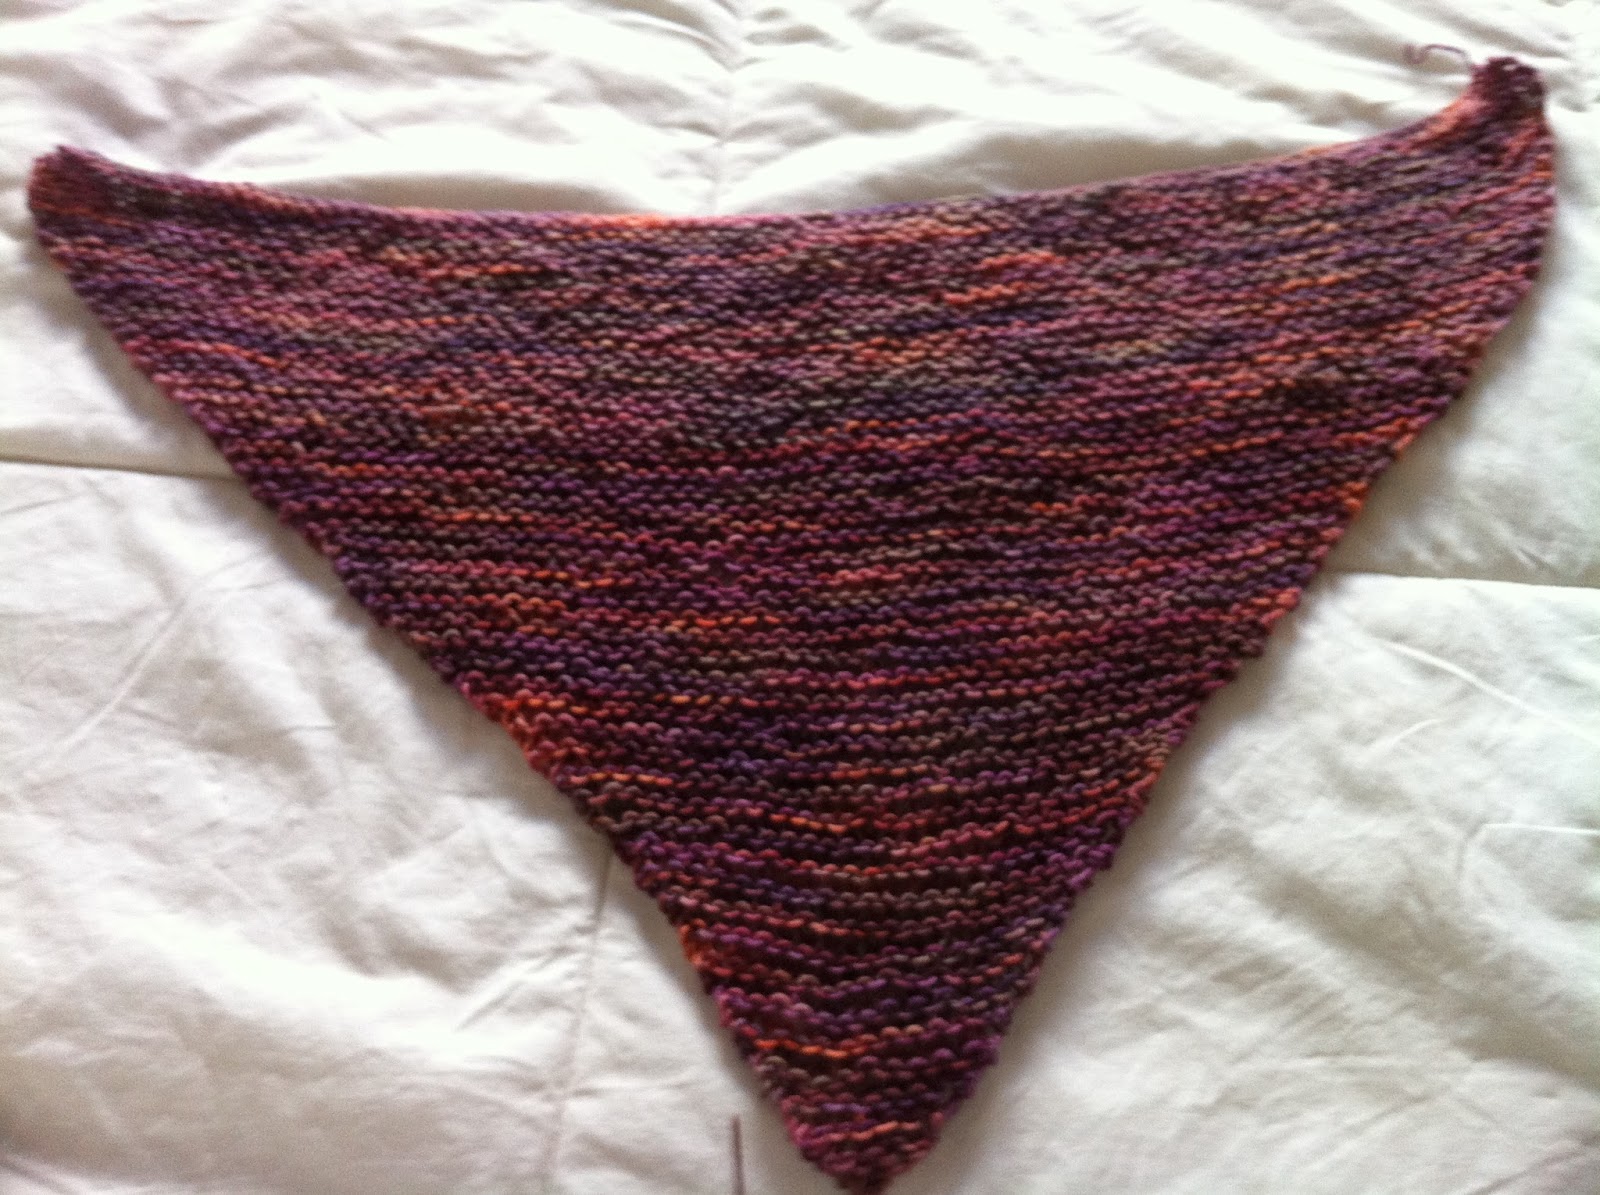
I completed the second scarf for the 5th Mystery Project. These scarves are just plain Garter Stitch with a decrease on each end every other row after starting with 100 cast-on stitches and finishing with two stitches left on the needle.

First scarf completed last month.

Second scarf finished today.

Both Scarves
It took all day, dovetailing with other projects, but Block 8 is finished. The wavy or chevron shaping on the body of this block is created by working stitches that gradually ascend and then descend in height. Three stitches are worked into one stitch at the highest peak of the pattern, and three stitches are decreased into one at the lowest point.

Block 8
Chevron Pattern

Close-up View
Isn't this a pretty pattern? I can visualize it made into a vest or sweater. How striking that would be. Hmmmm, maybe a future design?

Saturday, August 3, 2013

August 3, 2013

It took me several days to make this block. I didn't like it particularly. It was only one pattern and seemed to take forever to crochet. Also, Steve is home and my time was divided. Anyway, this block is now complete.

Block 7
Twisted Loops

Close up 
This stitch is like a long-haired cat - fat and fluffy on the outside, but lean and lank on the inside. The fluff is made from spiraled chains attached tot he front loop of a mesh of stitches. Double Crochet Stitches are used for the mesh and chain-sevens for the loops, but any variation could be used for a smaller or larger project.

This is a variation of the Astrakhan Stitch. Instead of scallops these chains spiral and they do not require the awkward manipulation of working backward every other row. Also these directions are the same for both a right-hander and left-hander.

This pattern would make a great fake fur collar and cuff for a jacket in a loopy or fuzzy yarn. It is also ideal for making fuzzy cuddly baby toys. Since the twisted loops provide a good insulation layer, try it for a fun, fluffy carriage blanket for your favorite baby. To dress up a ready-made sweater, work one row of the Loop Stitch at the neck and cuffs. In order to have a base in which to insert the hook, first embroider a row of Stem Stitch using a yarn needle or crochet a row of Slip Stitch around the sweater edge.