Monday, October 31, 2016

Still Posting Patterns

I am taking a little break from the actual knitting of the Tank Top. I decided to go ahead and type the patterns for two other scarves I designed earlier. The one I posted for sale on Ravelry today is an I-cord design. I originally made it for my grand-daughter Emma.

I wanted to make a scarf using a very thick yarn that equals one stitch per inch. I couldn't find a yarn thick enough at the local yarn shop, so I made an I-cord from a #4 worsted weight yarn and then used the I-cord to knit the scarf.

This was really neat because I could make a length of I-cord and knit the scarf at the same time. When the scarf was as long as I wanted it, I stopped making I-cord. Cool, huh?

I made one skein of yarn (182 yards) into I-cord and then measured how many yards of I-cord I had. One skein gave me 3 yards and 6 inches of I-cord. By the time I completed knitting the scarf, I had used 6 skeins of yarn, which made 19 yards of I-cord.

 I like the thick look and the ability to wrap the scarf several times, or not.
 Here I'm making the I-cord using 2 double pointed needles, Size 11.
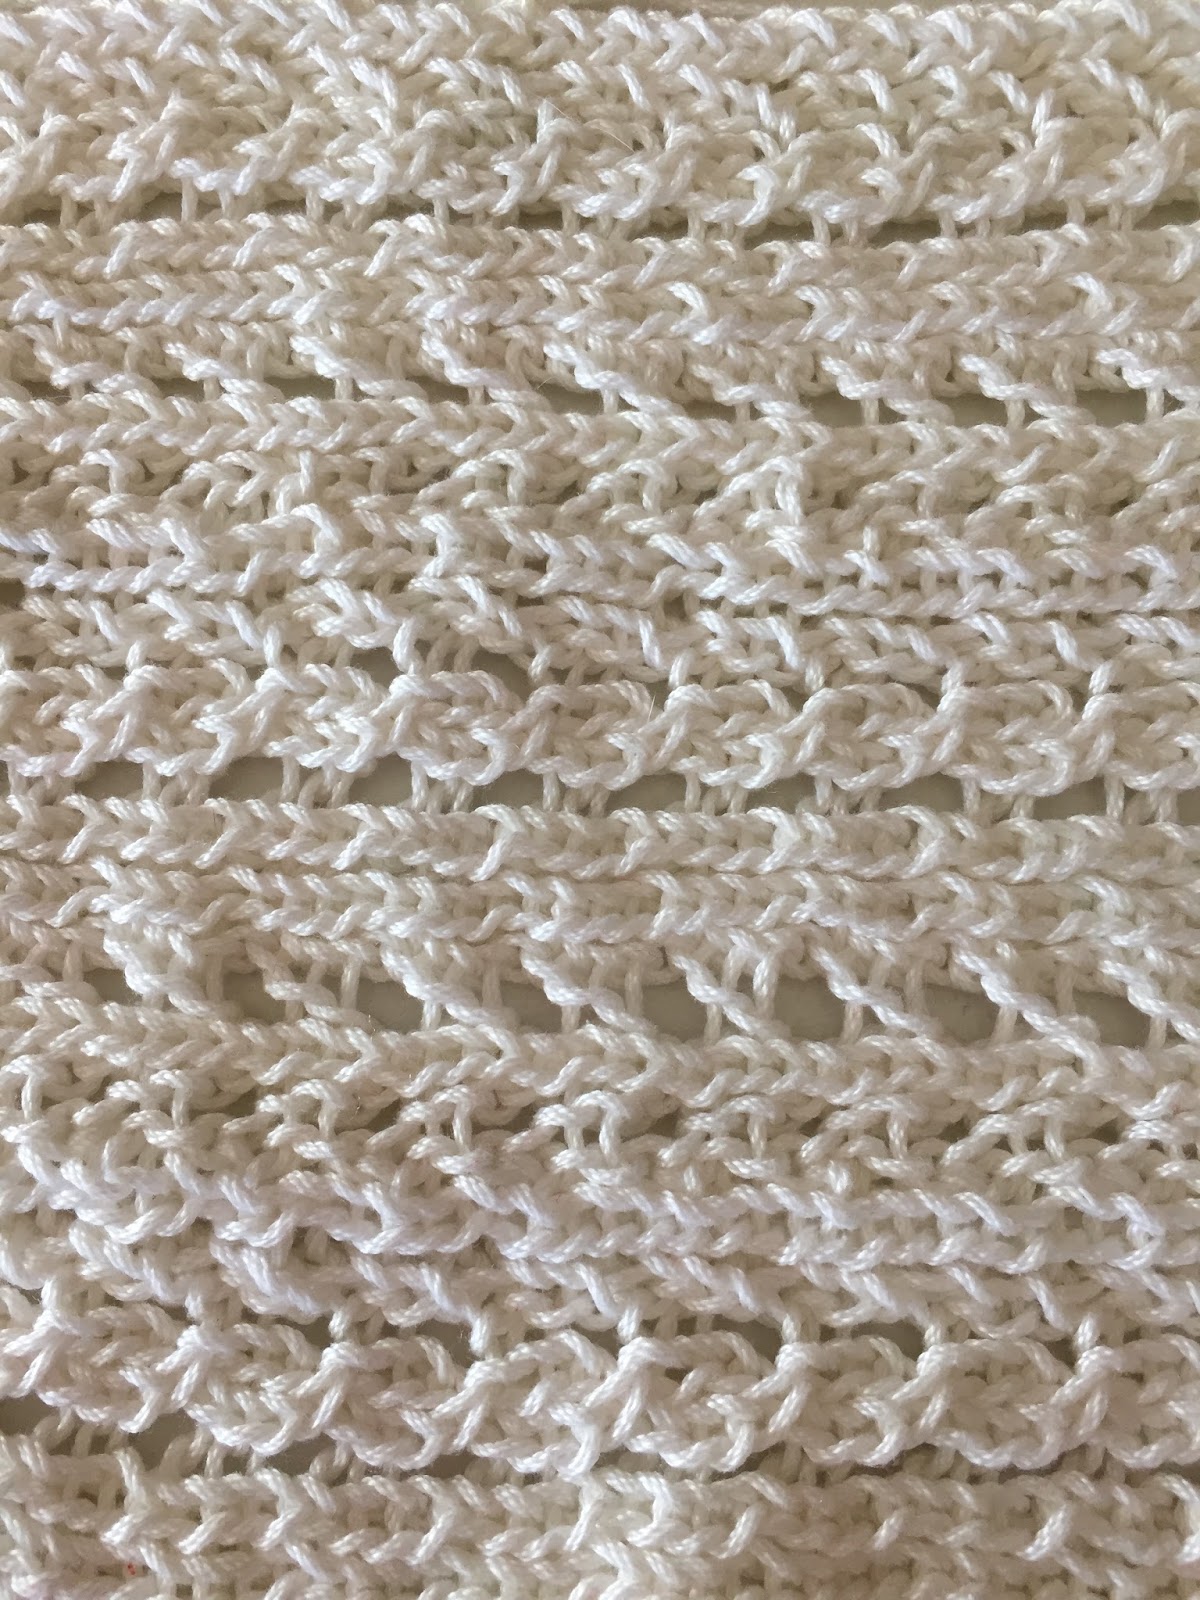
 This shows you how the scarf can be knitted while at the same time making the I-cord.
The scarf was knit on 2 straight needles, Size 35.

So that's it for right now. I have another scarf pattern to publish and I want to do that today, too.


Well, I'm back. I finished publishing the second pattern for today. This pattern is unique because it is my FIRST attempt at designing my own pattern. I used three colors (pink, burgundy, and yellow) for the stain glass, navy for the lead casing, and white for the total background of the scarf.

The yarn is a 4-ply #4 worsted weight 100% cotton by Peaches & Cream. It is one of my most favorite yarns. I use it all the time for making dish/facial cloths. I was given the yarn and decided to use it for my FIRST efforts at designing. I wanted something that wouldn't be expensive and something that would feel soft around the neck.
I knit the scarf in a garter stitch (knitted on both sides) because I wanted both sides to look the same, making it also reversible. But I think the stain-glass effect may have looked nicer with a stockinette stitch (knitted on one side, purled on the other side). You tell me. What do you think?
I am pleased with this FIRST attempt of mine to design my own patterns. I charted the colors and then wrote out the directions for each row. I find using charts easier than the written instructions, most times.

Using the Intarsia technique (knitting pictures), a stained-glass design is created. Bobbins holding the different colors are used to help with the exchanging of colors. The design starts at one end of the scarf and then is repeated in reverse at the other end of the scarf.

I called this pattern Lattice Stained Glass Scarf.


This shows the bobbins that are holding the different color yarns as they are interchanged to make the stained-glass lattice design.


This is the chart on graph paper I used to design the lattice.
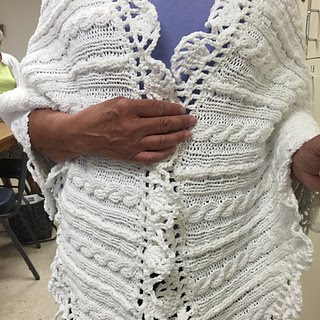
In Progress
The finished scarf

Ta da!!! The scarf works great.

Now I have three more designs in my mind. I drew them so I wouldn't forget them. Here they are for another day and other projects.


So that's it for today. I'm going back to knitting the Sample for the Tank Top I've designed. Bye!


Friday, October 28, 2016

A Skirt, Anyone??


I actually designed and knitted this skirt in 2012. But today was used for typing the pattern in my template so I could post it online for sale on www.ravelry.com/projects/dteresasimmons which is where my patterns are currently for sale.  It is a reversible tubular seamless skirt with an elastic waistband. The pattern is designed for sizes ranging from XS to XXXL. The pattern is my cabled ribbing design. I used a #2 Sport Weight yarn so the skirt wouldn't be bulky to wear. The needle size 4 is small on purpose too for the same reason. This keeps the stitches small. I prefer a solid color of yarn to better showcase the cabled pattern.

I designed a tank top to match this skirt. I still need to type that pattern in my template so I can also post it for sale.

I have no idea if my patterns will become popular and sales will be extensive, but a few have looked at my patterns and a few have purchased. I am currently researching other markets for posting them. But my first concern is getting the patterns I still have pending print-ready.

I still have the above mentioned tank top, a sleeveless pullover sweater, a crocheted hat, and two more scarves that are waiting to be typed. These have already been made by me and are in a container just waiting to be released. Giggle!

After that, I have many more ideas in my head. Those will need to be started from the beginning and actually knitted/crocheted before I can type them. So I'm going to be busy for a while yet. Grin!!

Thursday, October 27, 2016

Another Design Finished

Well, I completed the Cable Me One Side - Rib Me The Other "Lace Scarf" today. I am pleased with the results. I used yarn overs with the cabled ribbing pattern and the scarf has a nice open airy, lacy look about it.

I made the scarf short and close to the neck by making it 8 1/2 inches wide. I didn't have a lot of yarn to use, so I combined two skeins of white with one skein of red. It actually came out just fine. I edged the ends with red single crochet stitches and that helped draw the red theme from end to end and not just stuck in the middle, like an after thought, which it really was. Giggle!

I had first thought to weave in ribbon through the yarn overs, but the ribbon does not lie flat when worn. So I next crocheted a long red chain and wove it through the white sections. I did like the contrasting color combinations, but saw that the red chains were too dominant and actually hid the ribbed cable pattern. So I pulled out the chains and left the lacy pattern as first designed.


So here is the final results being worn by me.


Tuesday, October 25, 2016

The Next Two Projects Begin

I've been pretty busy this past week. I've started a new design and also started a project for my grand-daughter Jenny who is planning to marry in December. So I've been flipping back and forth between the two.

The new design is called Cable Me One Side - Rib Me The Other "Lace Scarf". I am doing something different with my cabled ribbing design. I am adding yarn overs to create a lace scarf. I started using a size 11 needle and a worsted weight yarn, but the pattern was too loose, the cable design was lost, and the lace wasn't quite what I was envisioning.


So I re-worked my design and choose a DK weight yarn using a size 6 needle. I am more pleased with the results now. I don't have enough yarn in one color to complete the sample piece, so I am using two colors, which will give me a better idea how to finish the design.


I'm considering edging the scarf with reverse sc but not sure if that will be the final design. I wanted a scarf that is more like a choker, shorter around the neck. But I also computed the charting and written instructions for making a narrow, long scarf, too. The sample I'm currently knitting is 8 1/2" wide. The longer, narrow scarf will be only 4 1/2" wide. Both are reversible. The wider scarf will have three cable patterns on each side. The narrow scarf will only have two cable patterns on one side with one cable pattern on the opposite side.

So far I do like the design as it is. But as I was seeing this pattern in my mind, I thought I might like to have ribbon woven through the yarn overs to highlight the cables. I also thought that beads would look nice at each cable juncture. But as I'm knitting and watching the pattern unfold, I'm pretty sure I won't be using any beads. Way too much - too many cables. I've also considered that I might use crocheted chains instead of ribbon for the weaving since ribbon won't necessarily lie flat. But again as I watch the pattern unfold, I rather like the open lace look. I'll see....


Now on to Jenny's project. I have finished it and I'm really pleased with the results. I will be sending it to her so she can open it at the Bridal Shower from my side of the family. It is my desire that she use it as a new heirloom to be passed down to her children.


Thursday, October 13, 2016

Hello, hello, hello!

I haven't been to my blog for some time. I have been very busy designing patterns and working the details so I could post them for sale on my Ravelry store. ravelry.com/people/dteresasimmons

Since my blog is listed on my Ravelry site, I will again be posting different thoughts, ideas, and feelings, and whatever here again.

So join me on my journey. I look forward to sharing with you.


Here are some of the patterns I have been designing while absent on this blog. I developed each pattern using a cabled ribbing design that I created. Because of this design, I have chosen to name my patterns Cable Me One Side - Rib Me The Other because the patterns are all ribbed with cabling worked through the ribbing. This makes the patterns reversible - cables on one side, ribbing on the other. I have dabbled with cables on both sides, which works well, too. I have each one listed separately for sale in my Ravelry store. I am hoping to include them into a single ebook, too.

This is my Cable Me One Side - Rib Me The Other Shawl. It is for sale in my Ravelry store.

I loved designing this pattern. And it was a delight to knit.

The yarn is 100% cotton, which makes it comfortable to wear, allowing for nice draping.

Fringe can be added as the edging. I opted to crochet the edging and added the crochet design instructions to the pattern.

Using a relaxed rib measurement, the shawl measures 40 inches from center of length to triangle apex. It is 84 inches along the longest edge. Each triangle edge measures 42 inches.


Cabled Hat with Ribbed Brim
Ribbed Hat with Cabled Brim


This pattern is Cable Me One Side - Rib Me The Other Child's Hat.

Pattern fits 6 - 18 months.
This hat is reversible.
  • Cables on the outside with folded-up ribbed brim
  • Ribs on the outside with folded-up cabled brim
It is for sale in my Ravelry store.


This pattern is Cable Me One Side - Rib Me The Other Adult Hat.

I used approximately 190 yards of a # 4 worsted weight stash yarn that I no longer remember anything about.
I used 2 circular needles but 4 DPNs work well, too. 
If choosing to use 1 circular needle, DPNs will be necessary to form the crown.
This hat is reversible. Can be worn with the cables on the outside or reversed to ribbing only.
Sizes reflect the following: 
Small = 18” relaxed rib; 38” stretched rib 
Medium = 19” relaxed rib; 40” stretched rib 
Large = 20” relaxed rib; 42” stretched rib
My sample (white hat) was knit to the Medium Size.
This pattern is for sale in my Ravelry store.


This pattern is Cable Me One Side - Rib Me The Other Hats.


I used a variety of #4 worsted weight yarns to knit the samples in the various sizes. All the yarns worked to the same gauge, resulting in the same measurements for each head circumference.


Finished Head Circumferences: 

Preemie = 15” 
0-6 mos = 16 1/2” 
6-18 mos = 18 1/2 ” 
18 mo - 4 yrs = 20” 
4 yrs - Adult Small = 21 ” 
Adult Medium/Large = 23”


Hats are Reversible


Gauge: The swatch was 4” high by 6 1/2” wide, knitted in a K2, P2 ribbing stitch. There were 26 stitches and 20 rows in a 4”X 4” measurement. There were 6 stitches and 5 rows in a 1” X 1” measurement. The swatch measured 6 1/2” with a relaxed rib and measured 12” with a stretched rib.


This pattern is Cable Me One Side - Rib Me The Other Mobius Cowl.


This can be worn as a cowl, shawl, or to cover the head also.


I decided to participate in a contest with a project of my own design. I wanted cables on one side of the piece and ribbing on the other side. I chose a mobius design hoping it would highlight both sides of the pattern. I choose a white yarn hoping to highlight the pattern.


How amazed I was with the finished piece. The pattern was not at all what I expected. Instead of a twisted scarf with a pattern on one side and a different pattern on the other, this mobius started from the center and worked the pattern out from each side. This caused the front and back to be reversed from top to bottom. So interesting. I really like it and am pleased with the results of my own design.
The pattern is finished, posted for sale and ready to be downloaded.


Okay now, it is time to add the matching leg and hand warmers. I knit them from the same yarn, which is a luscious cashmere and silk blend. This yarn is 30% cashmere and 70% silk. It feels Awesome!! It is dry cleaned or hand washed cold with NO bleach. I love how these feel on my legs and hands.


Cable Me One Side - Rib Me The Other
Leg Warmers
Cable Me One Side - Rib Me The Other
Hand Warmers


These are both reversible, however the cables are only on one side. They are seamless, knitted in the round.


These patterns are in my Cable Me One Side - Rib Me The Other collection. The patterns are available for sale in my store.


There is one pattern left to share and it is Cable Me One Side - Rib Me The Other Scarf.


When I was beginning my design for the contest I entered, I wanted to try a simple pattern first before sending in my contest entry. This scarf is what I designed. It is ribbed on one side and the ribbing on the other side is cabled, making it reversible. It is very sleek and comfortable to wear. It can easily be lengthened, shortened and widened. I didn't enter this in the contest because the rules required that only one skein of their yarn be used in the project. This scarf required more than that. So I designed a hat instead using the pattern designed in this scarf. That pattern in above - Cable Me One Side - Rib Me The Other Child's Hat (red one).

I have other patterns that I have already designed. They are written down but I still need to input them into the computer, formatting them and including them in my Ravelry store. So I am going to leave sharing those with you until the above tasks are completed.